Introducing gpxslicer
January 28, 2020
I have recently released my first Python package, gpxslicer, a simple tool to cut GPX track logs into smaller segments. It is now available on GitHub and PyPI. The motivation behind creating it was simple: I wanted to automate tasks that I had done by hand too many times.
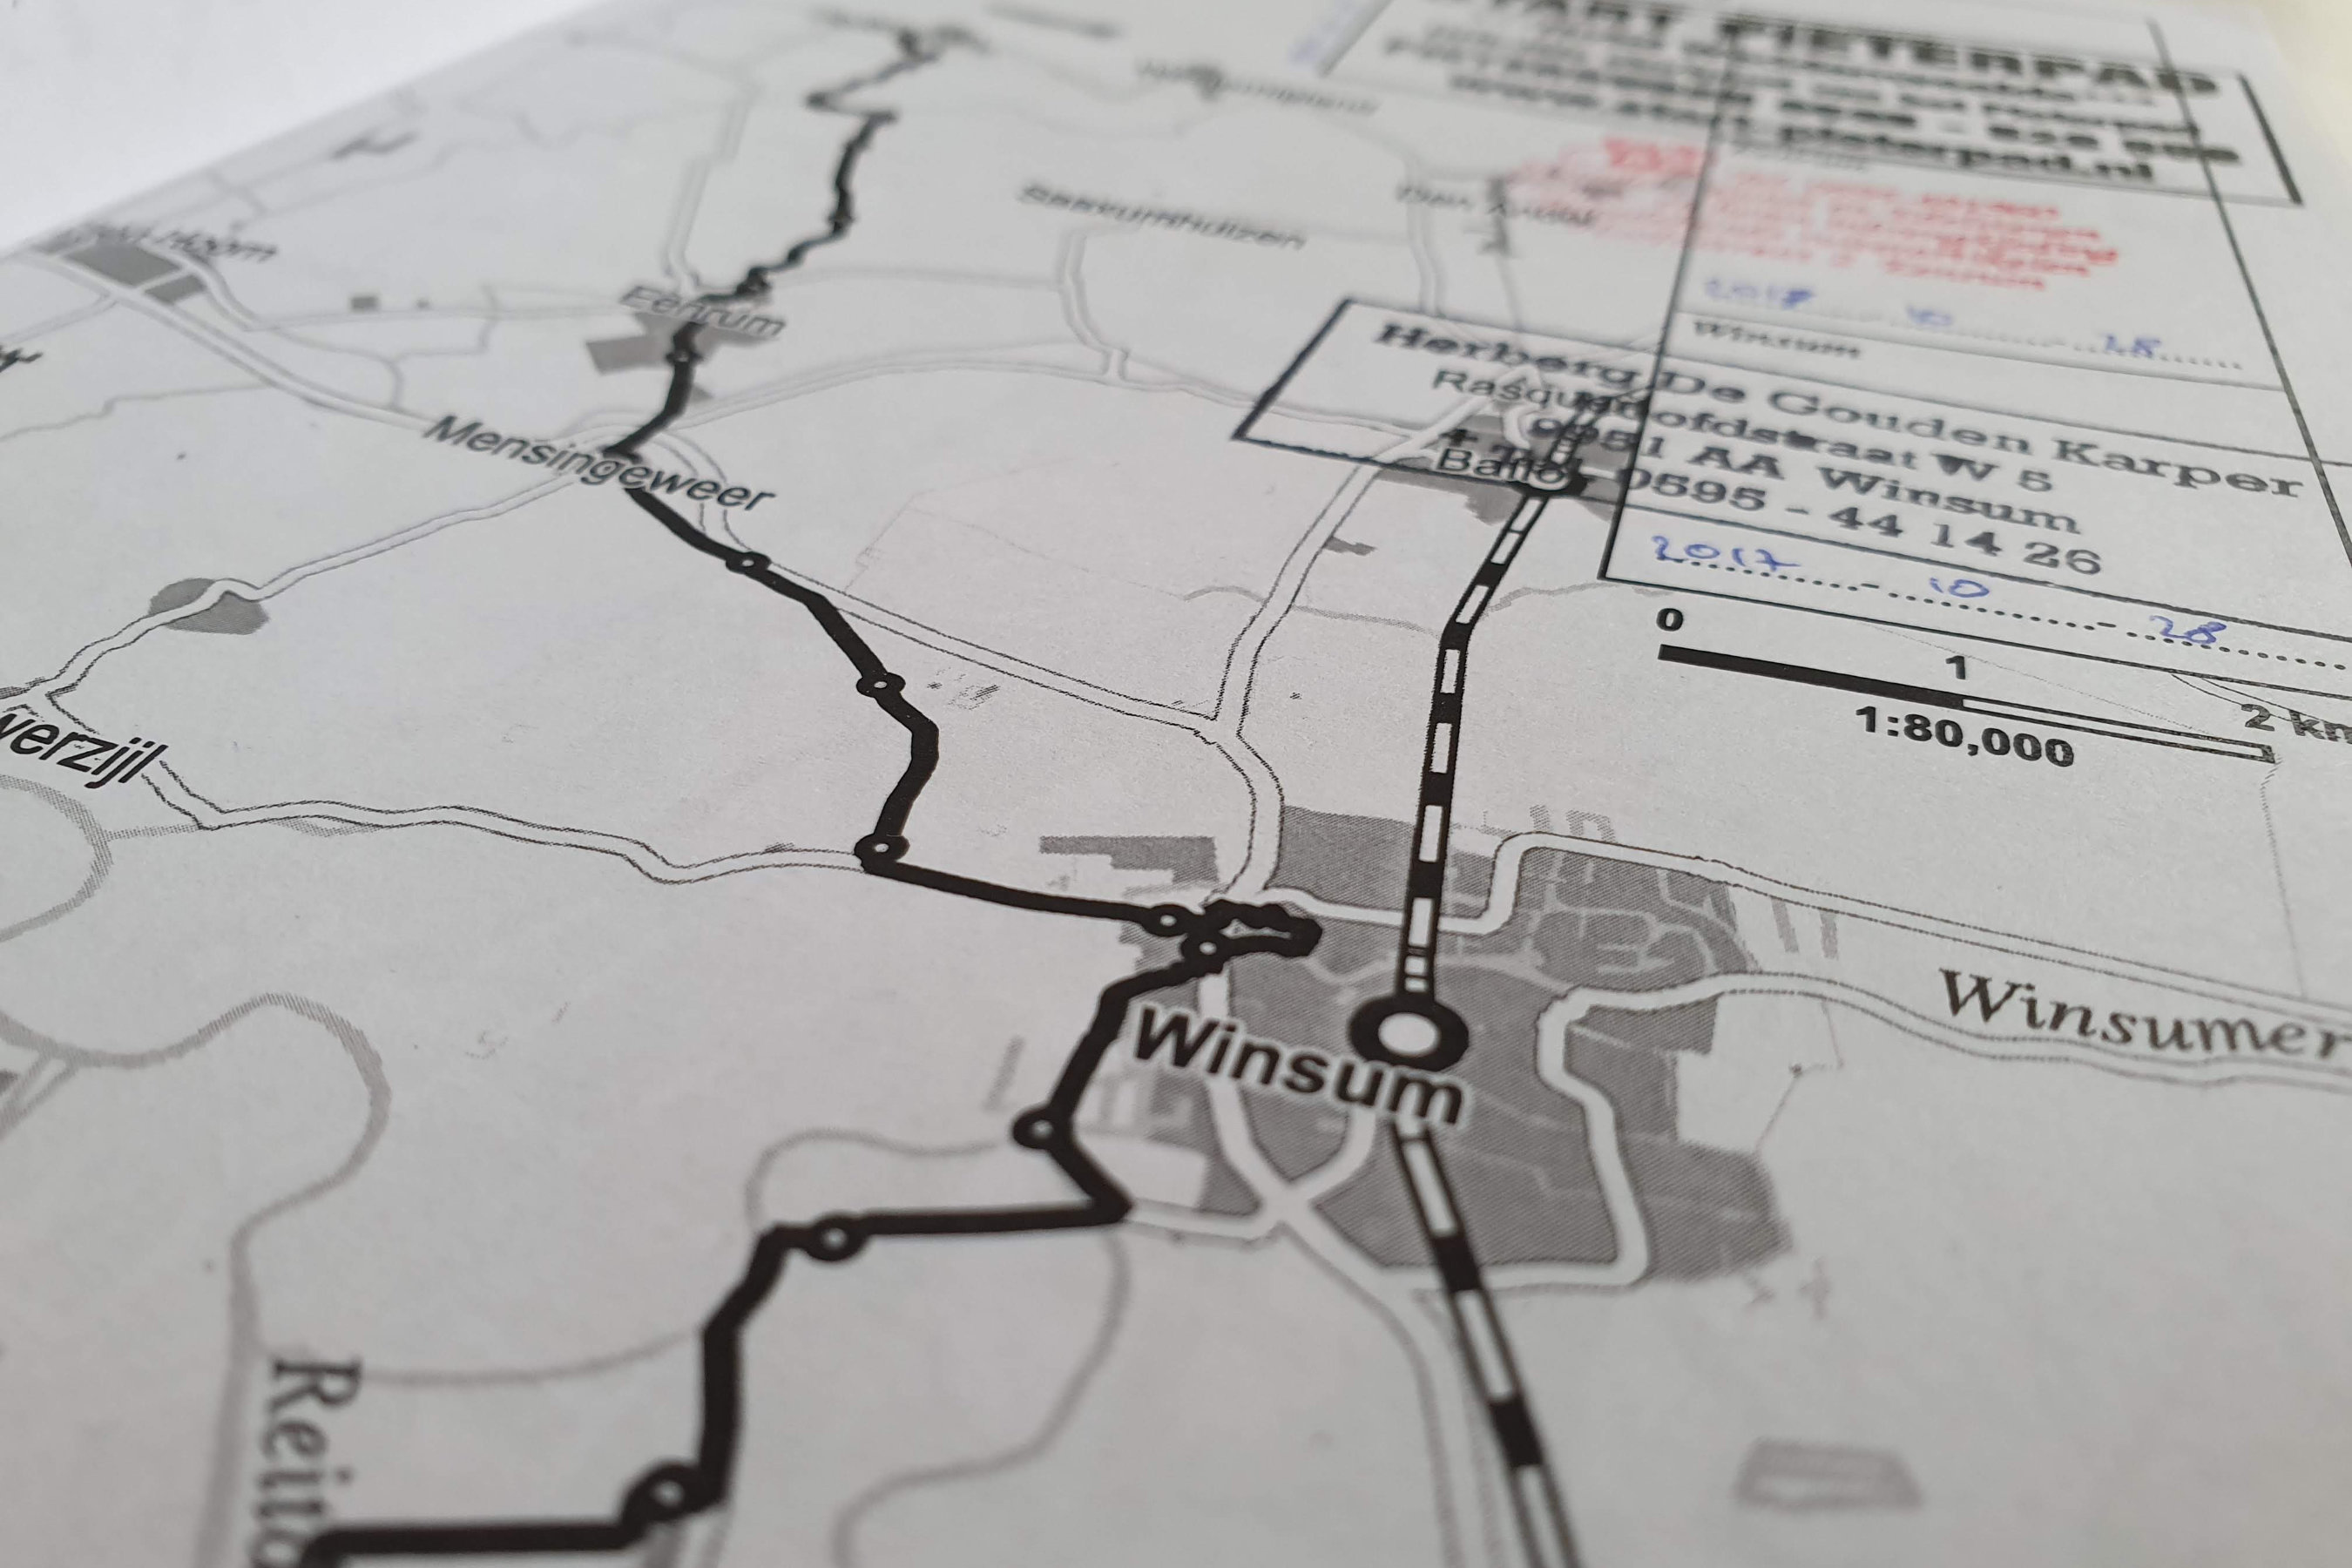
I often create paper maps for my hikes. Not only are they there even if the battery of my phone or GPS dies, but I can also put custom information on them. Such information is typically a point: a checkpoint for a hike, an interesting place to see, or a geocache.
Slicing a track at an arbitrary set of points
In addition to points of interest, it is also very useful to know the distance between given points (e.g. from a village to the peak of the nearby mountain).

The manual way of adding such distances to a map is to create the track between consecutive points by hand, importing these tracks into some My choice of GIS software is QGIS. I have used it in other projects as well: one about street names named after revolutionaries, and another one about bus stops named after liquor stores. GIS software, and adding the length of the tracks as a label on the map.
An algorithmic way to approach the problem is the following: for each desired cut point, find the closest track point (a point that lies on the track), and then cut the GPX track object there into two separate tracks. For reference, store the identified cut points as well, as they might not be the same as the input cut points. After this, we only have to do the last step: importing and labelling.
Slicing a track at a given interval
By finding points at a given interval along a track, we can create markers (e.g. at every kilometer) to enable easy distance measurements between any two points of the hike.
Alternatively, our aim could be to keep a given speed during a hike. In this case we can find points at intervals based on the distance we expect to cover in a given time period at this speed, which then allows us to see whether we are still on time. For example, in one instance I absolutely had to catch a given bus at the end of my hike as there was no other option to get home that day. Therefore, I wanted to make sure that I do not lose speed. I calculated that I had to walk at at least 4 km/h in order to safely catch the bus. Based on this, I put a point on the track every 2 kilometers – if thirty minutes passed since the previous point and I had not reached the next one, I knew that I was going too slow.
A simple algorithm would be the following: start at the beginning of the track and calculate the cumulative distance from there for each of the track points. If we passed a multiple of our target segment distance (e.g. if the previous point, point A was at 998 meters and this one, point B is at 1001), cut the track. Do not restart counting the distance as there would be a cumulative bias (we would add a couple of meters at every point), but keep counting from the very beginning.
This algorithm works well if extreme precision is not required (and we have track points frequently enough). The precise calculation requires only simple coordinate geometry, as outlined here. However, if we want to be really precise, coordinates have to be converted to a local projected coordinate reference system, due to fact that unlike geographical coordinates, projected CRSs have “constant lengths, angles, and areas across the two dimensions”. This is out of the scope of the initial release of gpxslicer, but the reader is invited to submit a pull request to the code if they decide to implement it. If we want to be more precise, we can calculate the exact 1000 meter point on the segment by finding it on the line that connects point A and point B.
Enter gpxslicer
Doing these tasks by hand is tedious and, since the programmatic approach is quite simple, not a sensible use of time. This is why I set off to write gpxslicer, now available on GitHub and PyPI. In it, I implemented the two algorithms outlined above. Luckily, there is a great Python library called gpxpy (website), which does all the heavy lifting in the background for importing, manipulating, and exporting GPX files – I just had to put my custom logic on top of it.
In the end, gpxslicer became primarily a command line tool with two utility functions (slice_gpx_at_points() and slice_gpx_at_interval()) that can be imported from its Python package if you want to use it in your project.
If you would like to learn how to use gpxslicer, please read its readme file, which describes it in great detail.
If you have any questions or comments, leave them below. In case you would like to contribute to gpxslicer, GitHub issue submissions and pull requests are more than welcome!